Creating a scheduled event on EventBookings allows you to plan multiple sessions with predefined dates and times. This feature is ideal for events that take place at specific intervals without following a recurring pattern. Follow the steps below to create a scheduled event easily.
Follow the steps below to create your scheduled event:
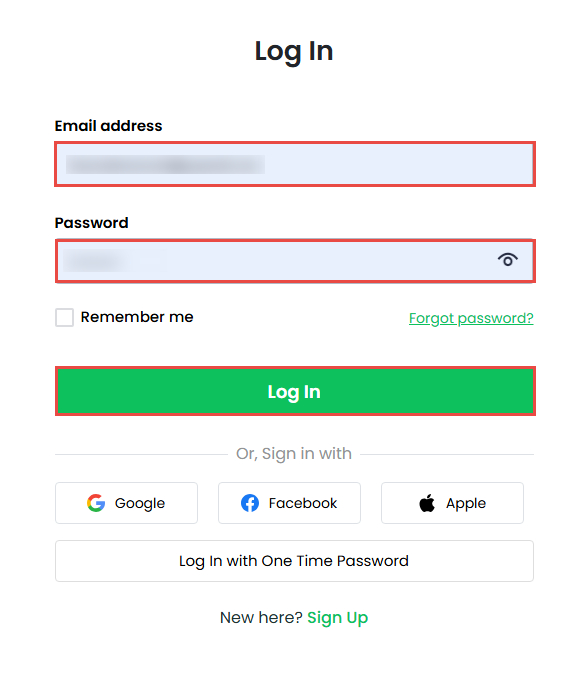
Step 1: Log in to Your Account
- Log in to your EventBookings account.
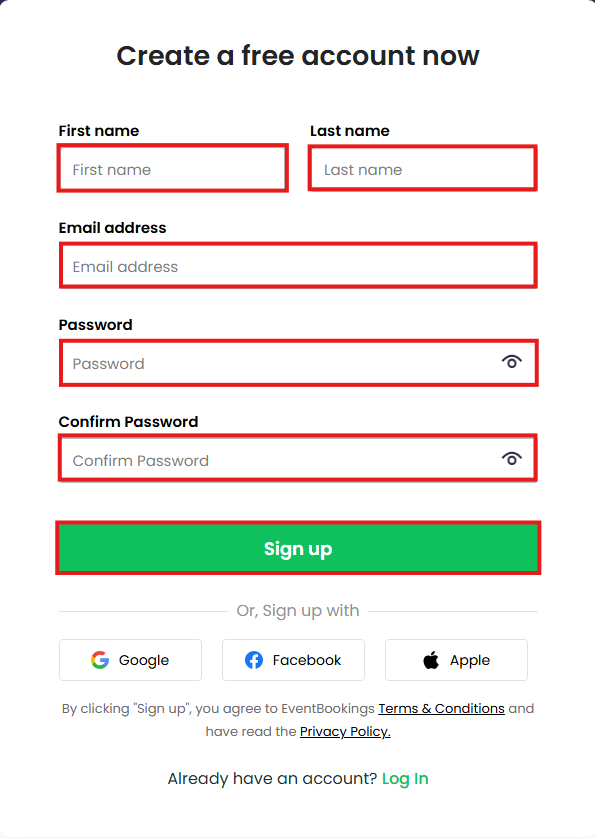
- If you don’t have one yet, sign up for a new account.
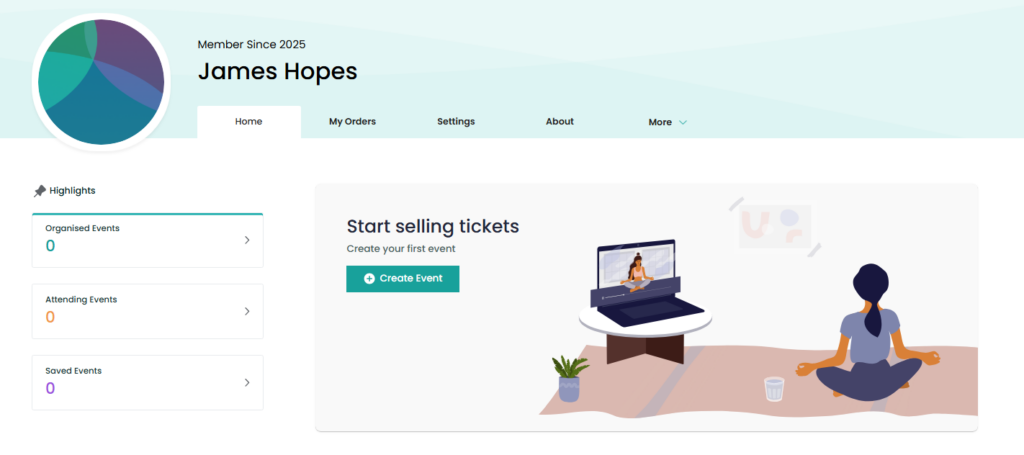
- Once logged in, click Create Event and select your organization.
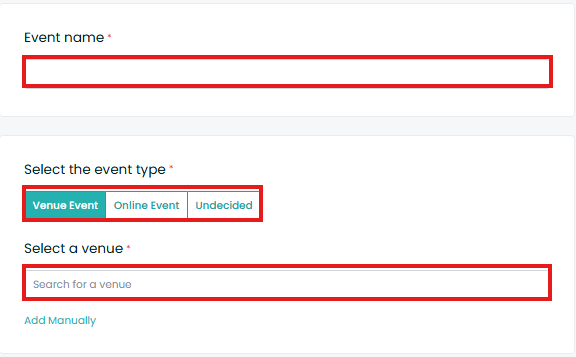
Step 2: Add Event Details
- Enter the event name.
- Add the event venue address.
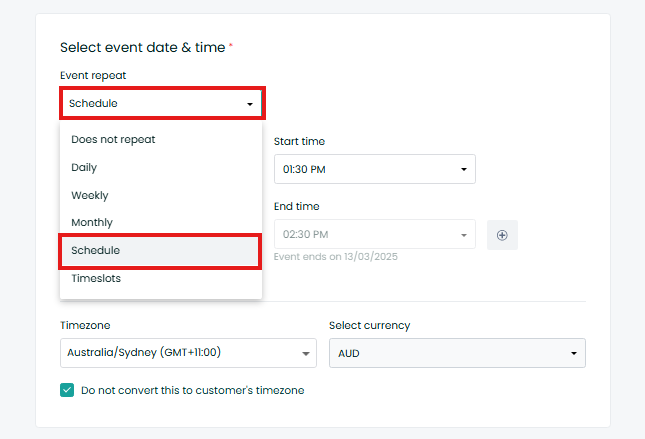
- Click the Event Repeat drop-down menu and select Schedule.
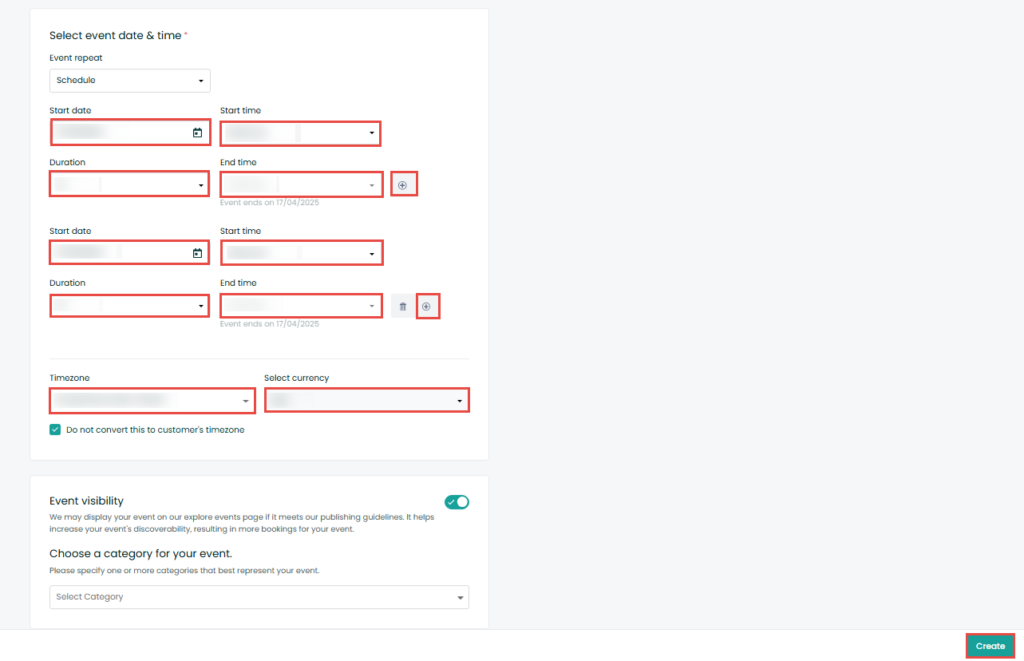
Step 3: Configure Event Schedule
- Add the event date, start time, duration, and end time.
- Click the + button to add multiple schedules.
- Select the time zone, currency, and event category.
- Click the Save button to finalize the schedule.
Was this information helpful?