Adding Terms and Conditions to your event ensures that attendees are informed about important policies before purchasing tickets. EventBookings makes it easy to upload a file, add a URL, or insert custom text for your Terms and Conditions. Follow the steps below to enable and set up this feature directly from your Event Dashboard.
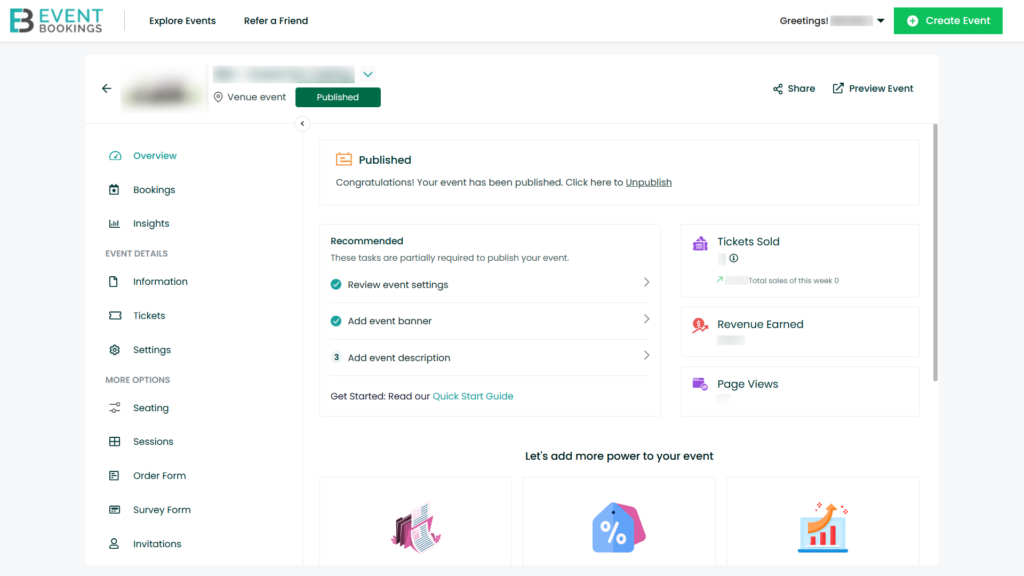
Step 1: Go to Your Event Overview
- Log in to your EventBookings account.
- Select the event you want to update.
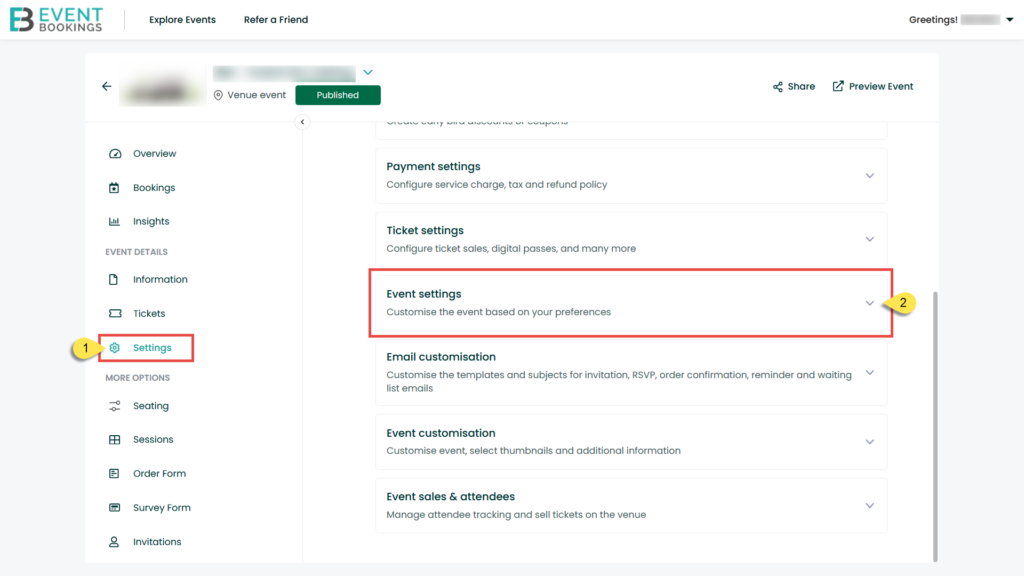
Step 2: Open Event Settings from Settings Menu
- In your Event Dashboard, click on the Settings tab located on the sidebar.
- Then go to Event Settings and expand it.
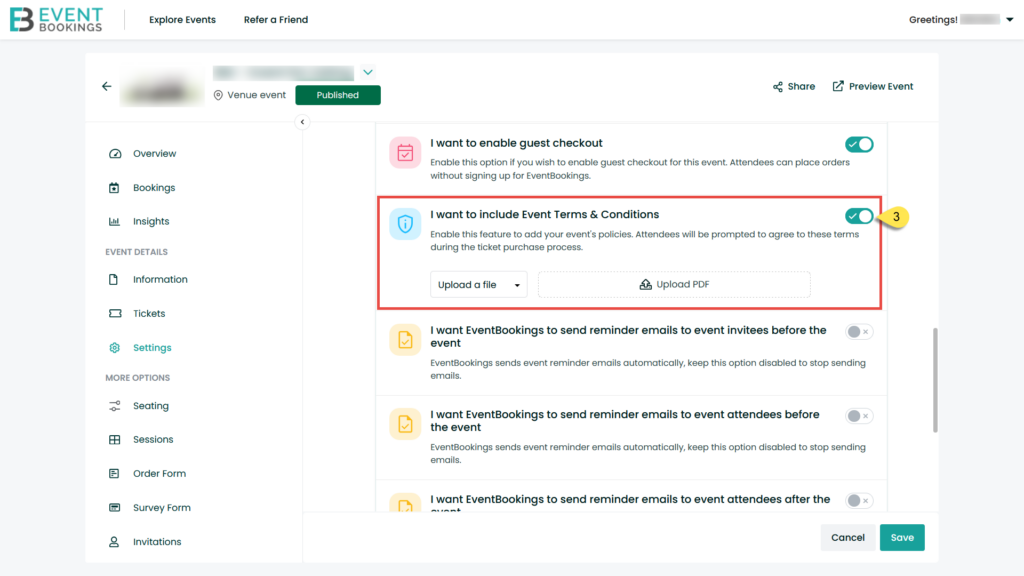
Step 3: Enable the Terms and Conditions
- Find the Terms and Conditions section.
- Toggle the switch to Enable Terms and Conditions.
Step 4: Upload or Add Terms and Conditions
- Click on the Upload a file dropdown menu.
- You have several options:
- Upload a File: Directly upload a document (PDF format recommended).
- Add a Link URL: Insert a link to an external page where your Terms and Conditions are hosted.
- Add Custom Text: Write or paste your Terms and Conditions text directly into the editor.
- Upload a PDF: Upload a PDF file containing your Terms and Conditions.
- Upload a File: Directly upload a document (PDF format recommended).
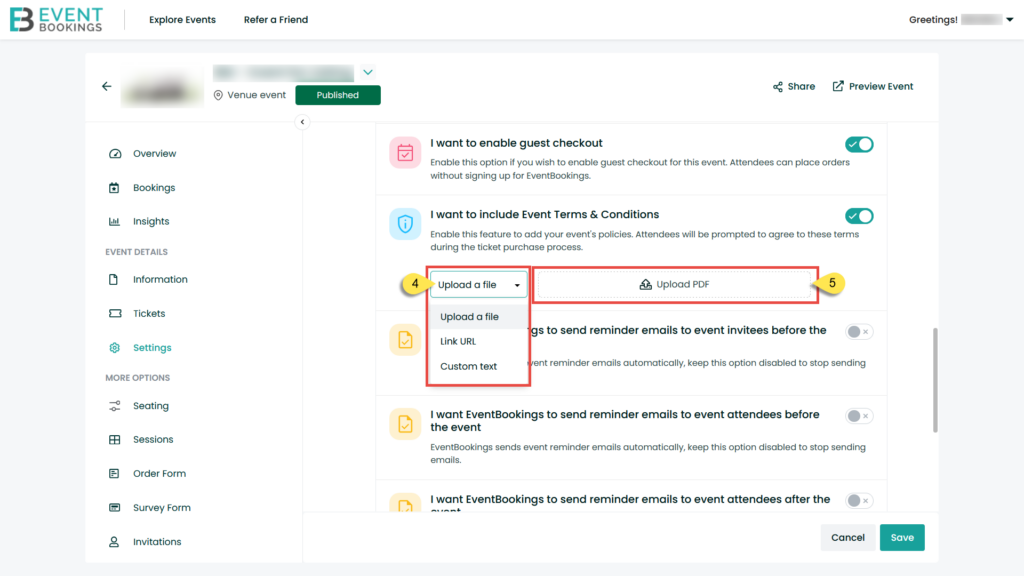
Once you’ve uploaded or added the Terms and Conditions, don’t forget to Save your settings.
Was this information helpful?