Setting up ticket capacity is an important step to manage your event smoothly. On EventBookings, you can easily add tickets, set capacity limits, and customise ticket details in just a few clicks. Follow the steps below to get started.
Step 1: Navigate to the Organiser Dashboard
Log in to your EventBookings account and head to your Organiser Dashboard.
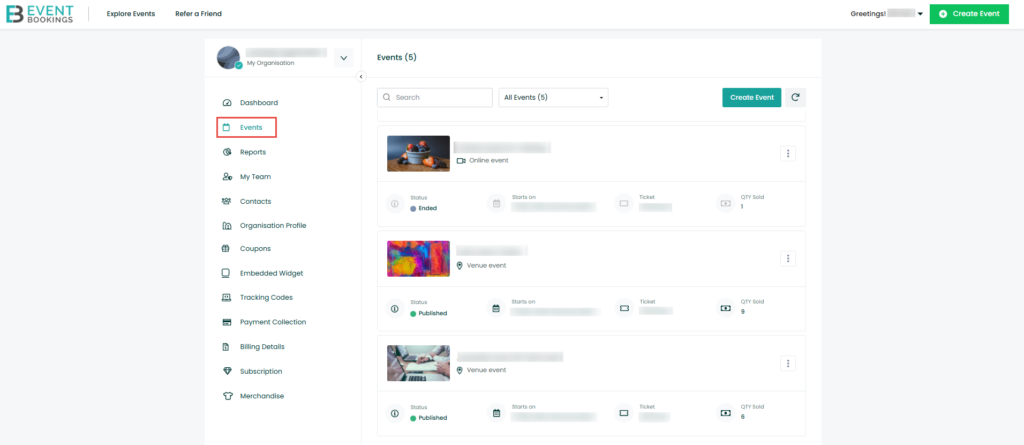
Step 2: Access the Events Section
From the dashboard menu, click on Events to view all your created events.
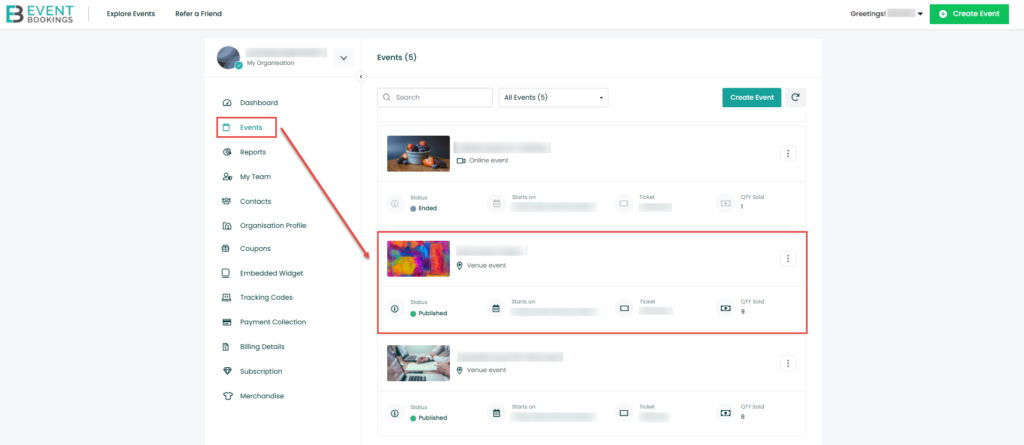
Step 3: Select Your Targeted Event
Find the event you want to update and click on it to open the event settings.
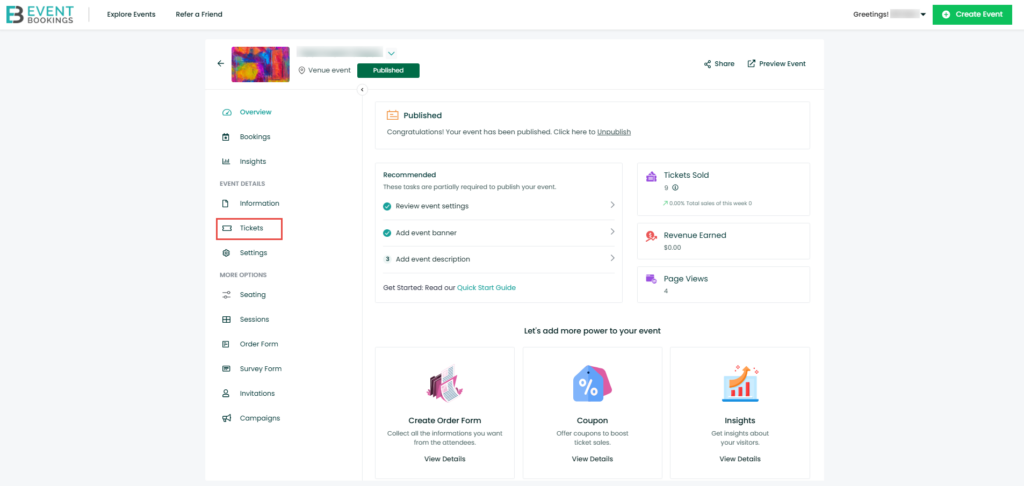
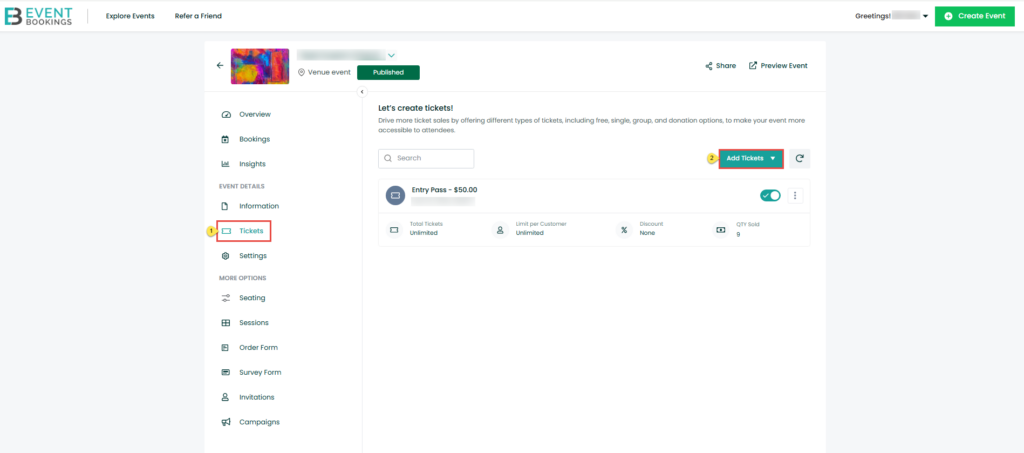
Step 4: Go to the Tickets Section
Once inside the event, click on the Tickets tab to manage ticket options.
Step 5: Open the Add Tickets Menu
Click on the Add Tickets dropdown menu to begin creating your tickets.
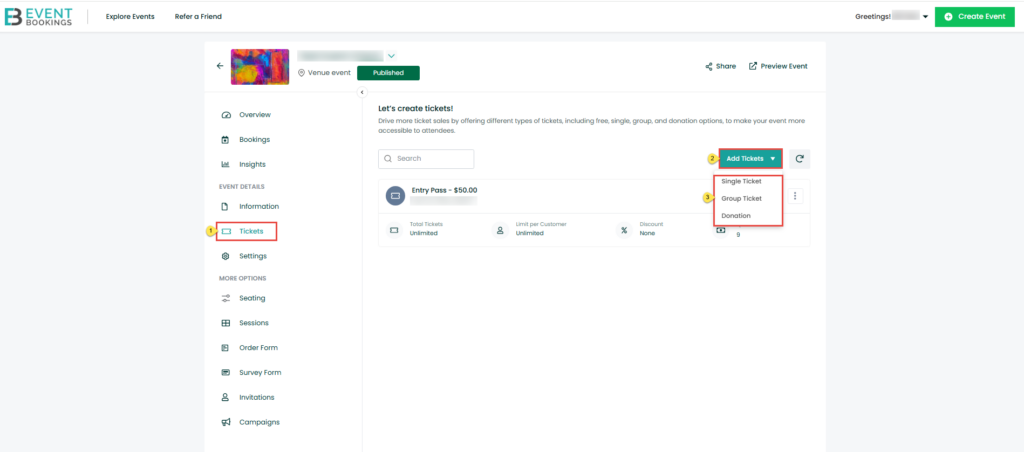
Step 6: Choose Ticket Type
Select the type of ticket you want to add: Single Ticket, Group Ticket, or Donation Ticket.
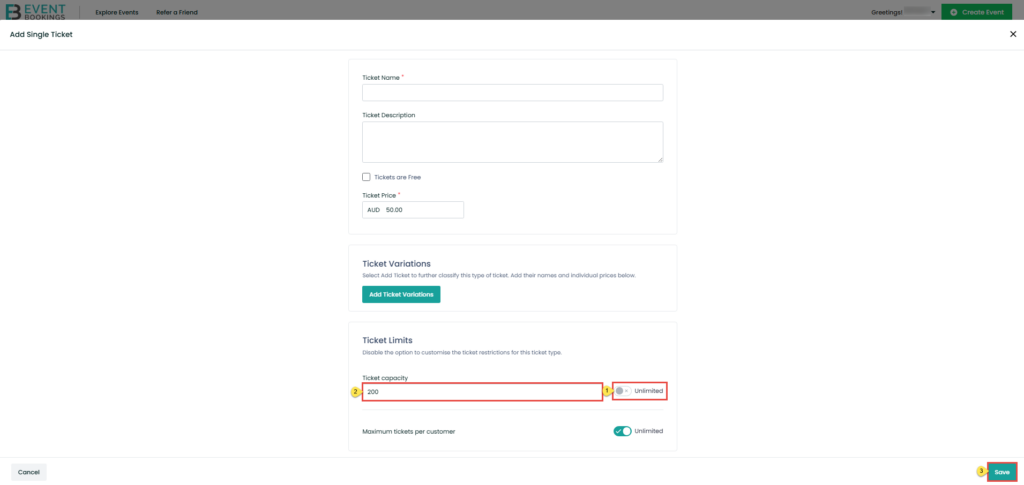
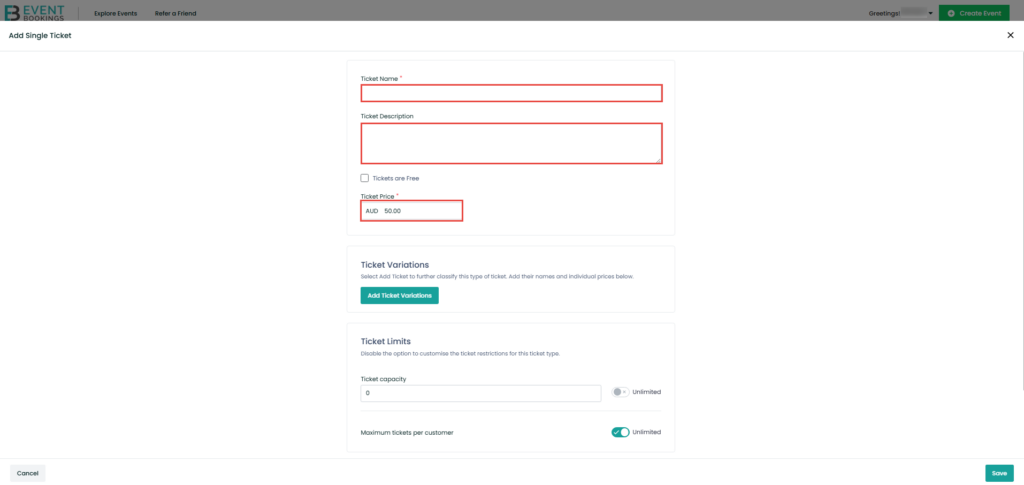
Step 7: Configure Your Ticket Details
Enter the necessary details for your ticket, including name, price, description, and any restrictions.
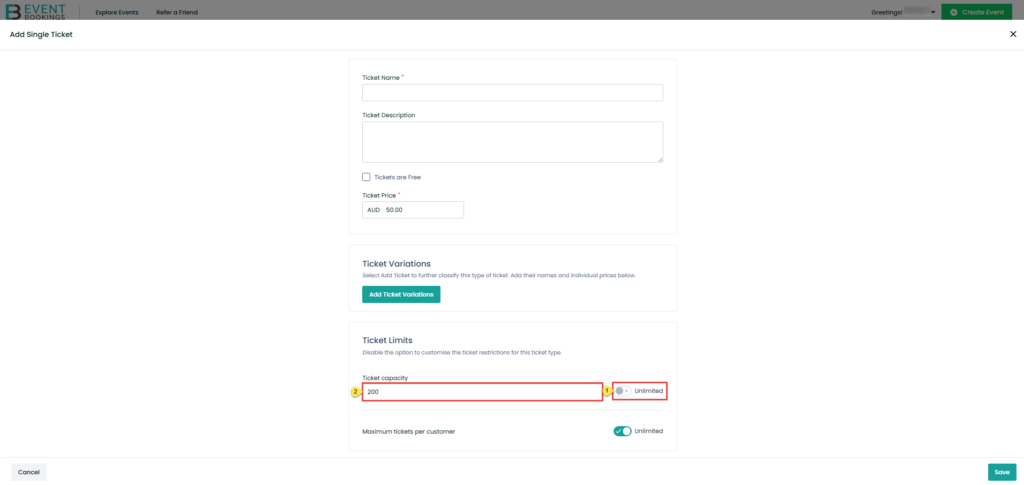
Step 8: Set Ticket Capacity
Click on Ticket Capacity and define how many tickets will be available for purchase.
Ticket Capacity for any ticket refers to the total number of tickets that can be sold for that specific ticket type. This limit is set by the organiser based on factors such as venue size, safety regulations, or the desired number of attendees.
For example, if the Ticket Capacity is set to 100, then only 100 tickets can be sold for that particular ticket. Once all 100 tickets are sold, that ticket type will be marked as sold out.
Step 9: Save Your Changes
Once you’ve set everything up, click the Save button to apply your updates.