The Add Attendee feature lets you bring your attendee list to your event by importing them. All imported attendees will have an order and ticket created for them, and the system will send them order confirmation emails. Customers can download their tickets from the confirmation emails.
This feature can be helpful if you have sold tickets outside the platform and want to provide tickets to those attendees or if you already have your attendee list and need to distribute the tickets to them.
Please note that EventBookings fees apply to imported orders.
Here’s how adding attendees to an event works:
Prepare a CSV file of the attendees with basic details like first name, last name, and email address. You can also include their billing information (Review Event Customisation from Event Settings) if you want to add it. Make sure to download the template in the system to prepare the CSV correctly.
Providing invalid fields in the CSV for billing information may result in the system discarding that attendee’s information. The import process will be completed without including the invalid entries.
Once the CSV is prepared, go to the bookings tab and click the “Add Attendees” button.
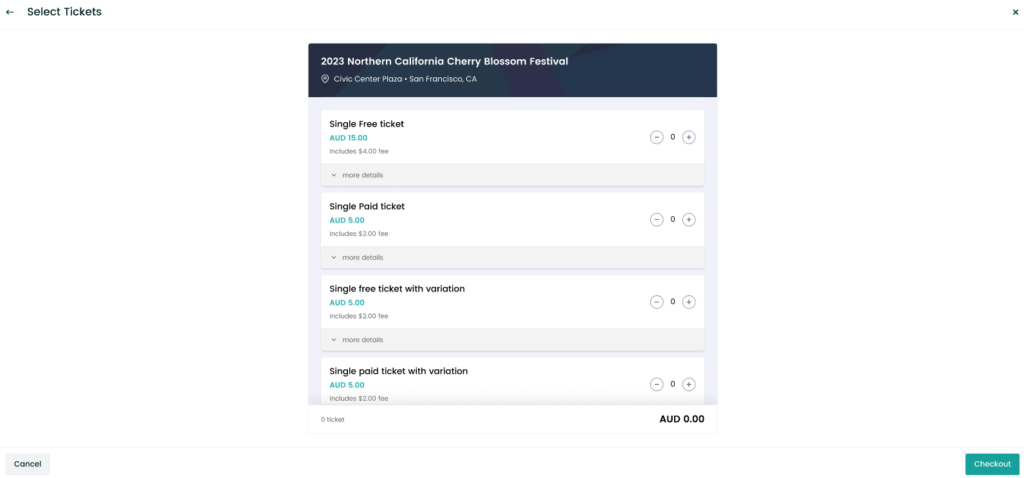
The “Add Attendee” process allows you to select your desired event date and tickets for the attendees you want to add. If you host a one-off event, the date selection will be skipped automatically.
Select the date and time for which you want to add the attendees. All valid event occurrences or sellable sessions will be available for selection.
Once the date is selected, the available tickets will be displayed. You can choose one or more ticket types and multiple quantities if needed. Each attendee will have the same ticket types and quantity once the “Add Attendee” process is completed.
Note: You can only add attendees to published events.
Once the process is done, you can view the orders in the bookings tab. Go to the order details from the three-dot menu to see their order details and download the PDF if needed.
You can cancel the invitations at any time by closing the live window or clicking the abort button.