EventBookings has various tools to make your event successful. There are many ways in the system. Let’s dive into this.
You can share your event anywhere via our shareable link. You can also have a graphically enriched SVG form of a QR code to add any place you want. It could be your website or social media posts.
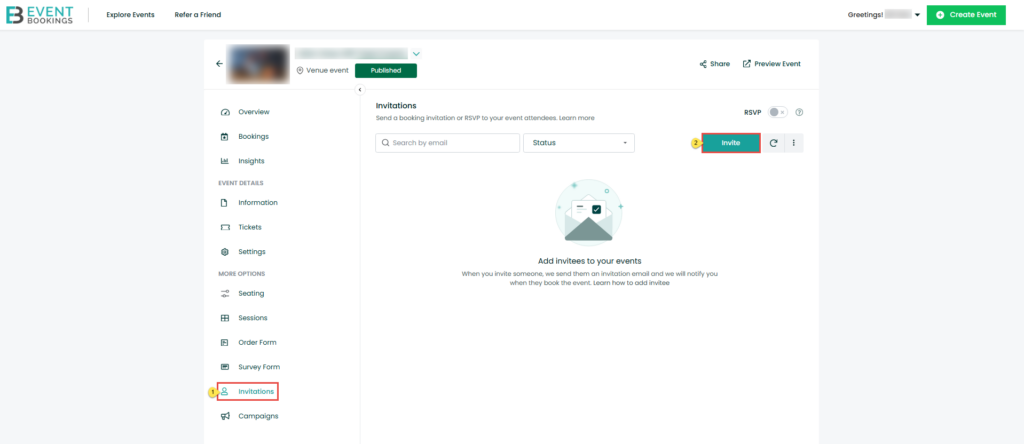
Invitation
Are you looking to send invitations to a target group of audiences? EventBookings has covered you with an invitation feature on the event’s dashboard page. You can also keep track of your invitation status, which allows you to make more informed decisions. There are several ways to invite via Invitation. These are: Manually, Importing CSV, contact list.
Features that the invitation provides:
| Feature | Description |
|---|---|
| Order tracking | You can track the converted attendees whom you have invited |
| RSVP | RSVP is a polite way of asking guests to respond to an event invitation with a “Yes” if they plan to attend or a “No” if they cannot. It helps hosts plan for the event effectively. |
| Restriction | With this restriction, you can manage who can join the event. without invitation no one can attend or buy the ticket |
Email to invite attendees from Bookings
To email an attendee from Bookings:
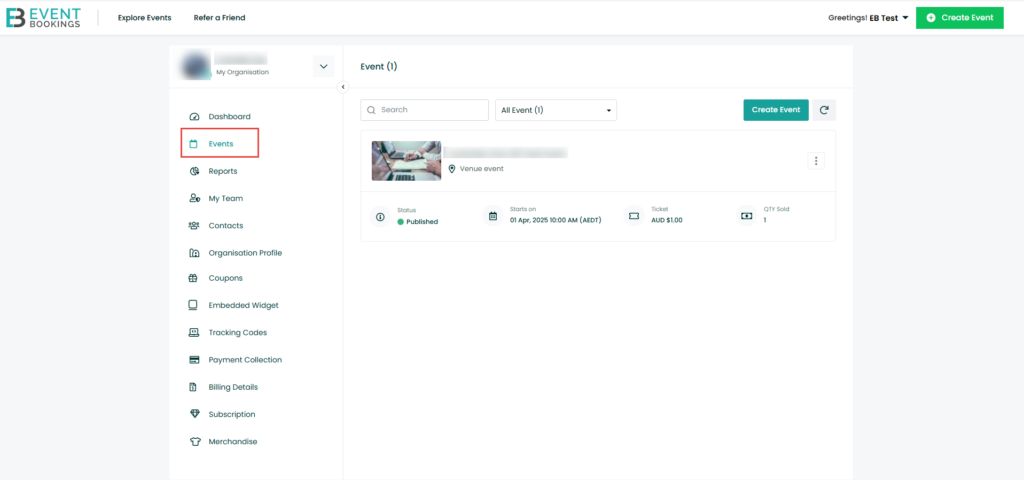
- Go to your Organisation’s Dashboard.
- Select Events from the left panel.
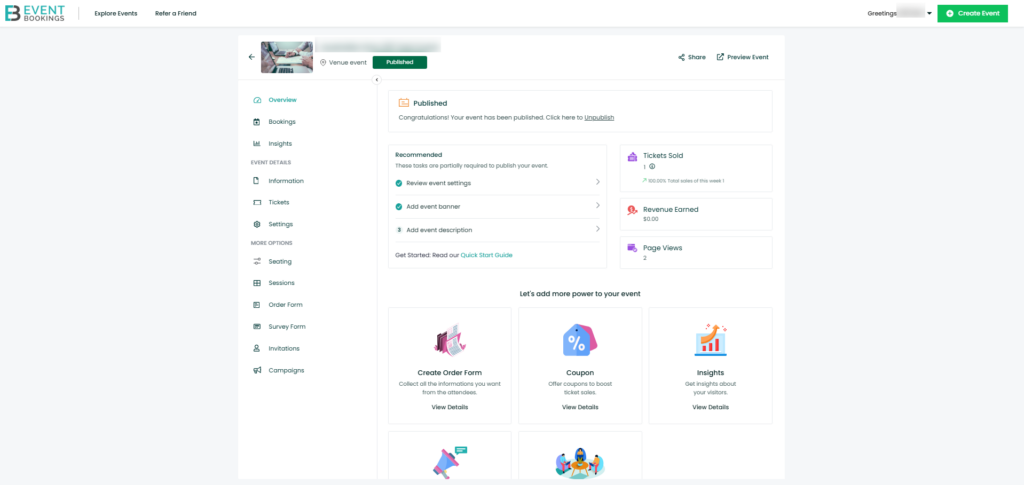
- Click on any events you want to send an email to the participating attendees. You will be directed to the Event’s Overview page.
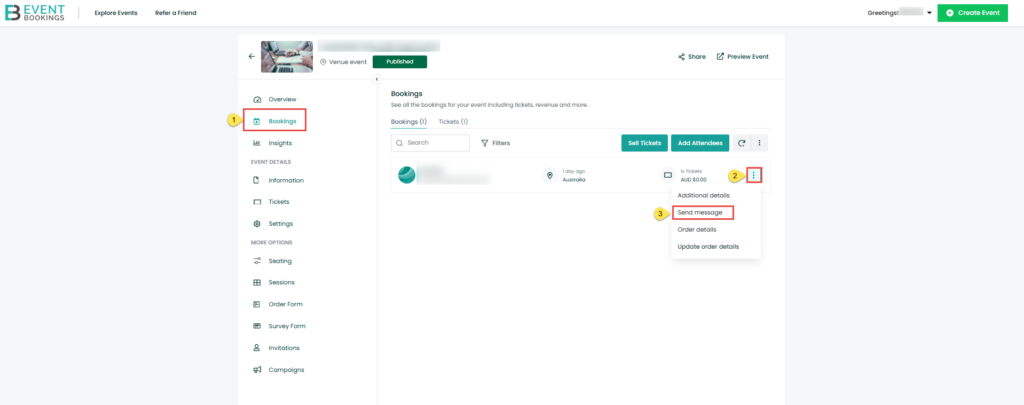
- Select Bookings from the left panel, and your attendees’ list will appear.
- Click the three-dot menu of any attendee and select Send Message.
- Enter details for the subject and message body.
- When done, click Send Message, and an email will be sent to your attendee.
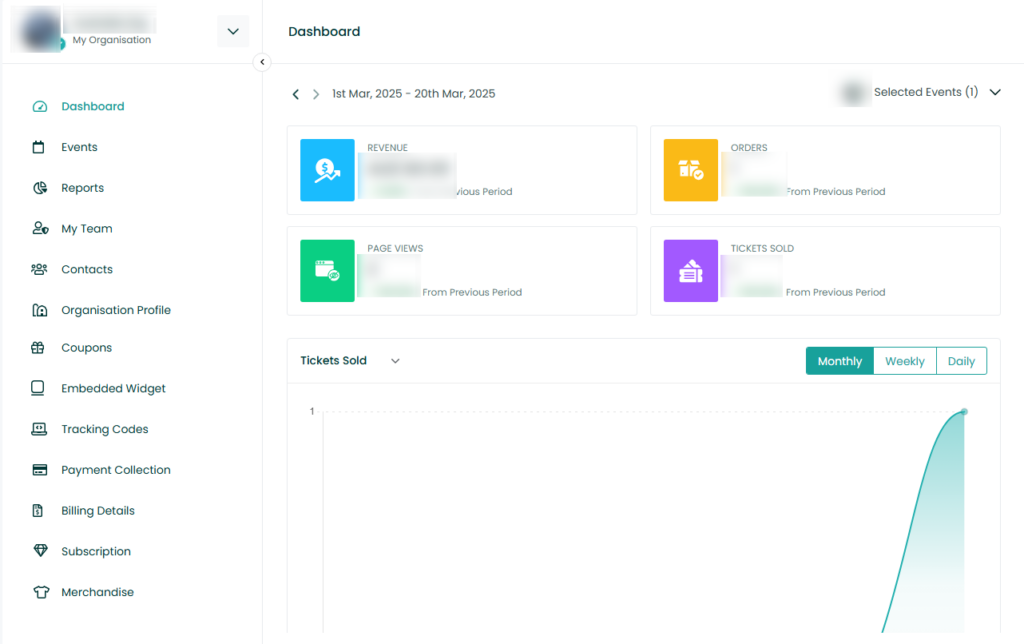

you can also invite attendees from Reports with same manner.
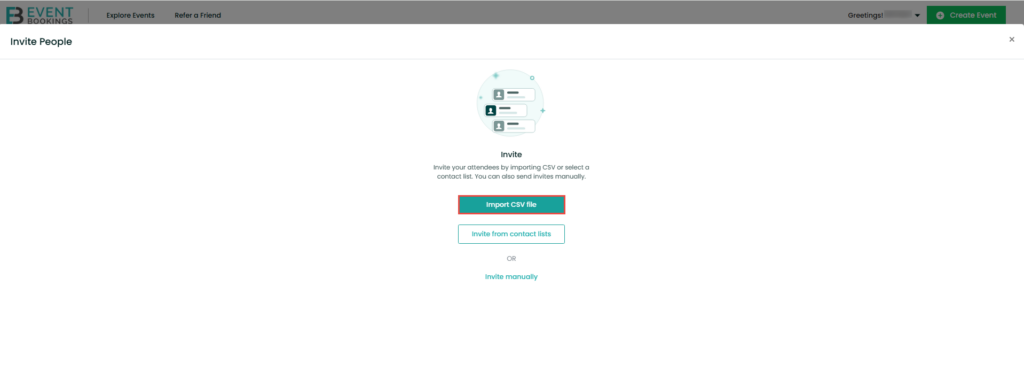
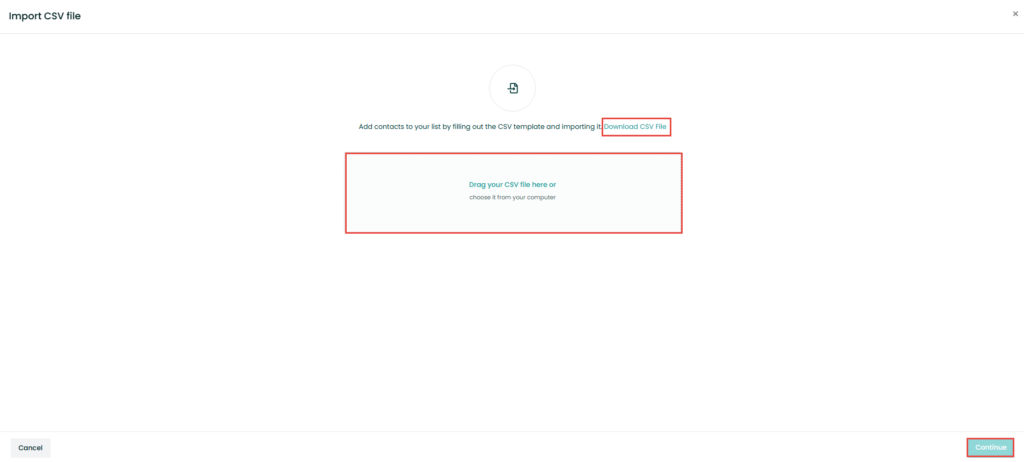
Invitation via Bulk uploads a guest list or multiple attendees.
Important Note: Before doing a bulk upload, ensure you have access to an app that can open and edit CSV files, like Google Sheet, Excel or numbers.
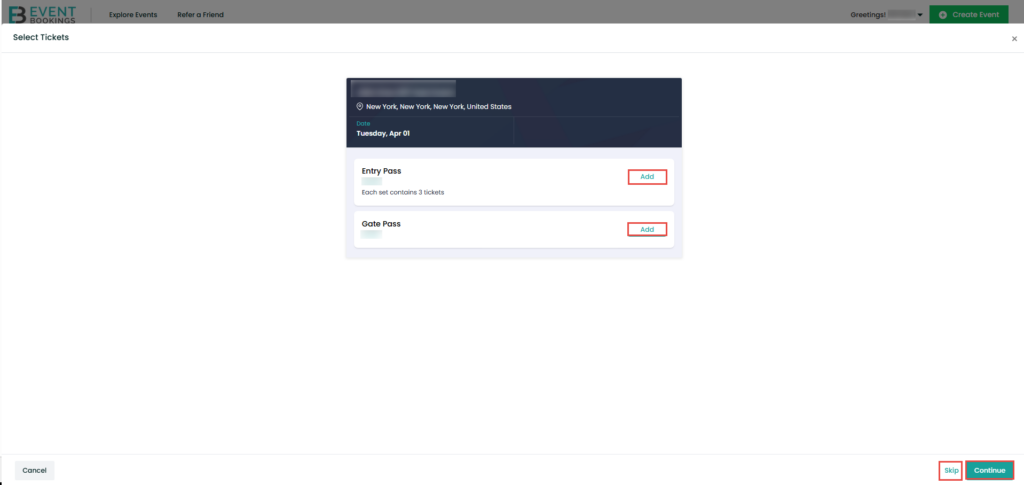
- Select invitations under more options.
- Click the Add button to select tickets, then click Continue or choose to skip this step.
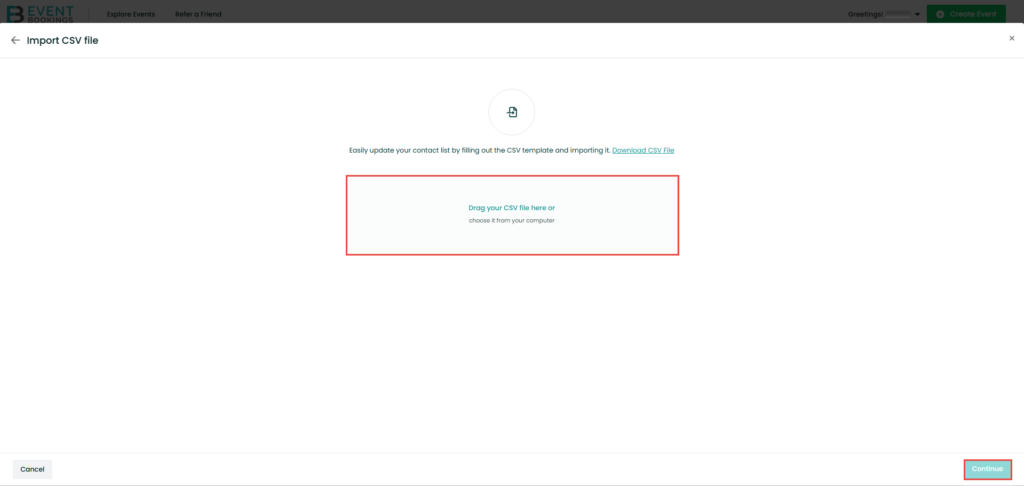
- Click upload CSV.
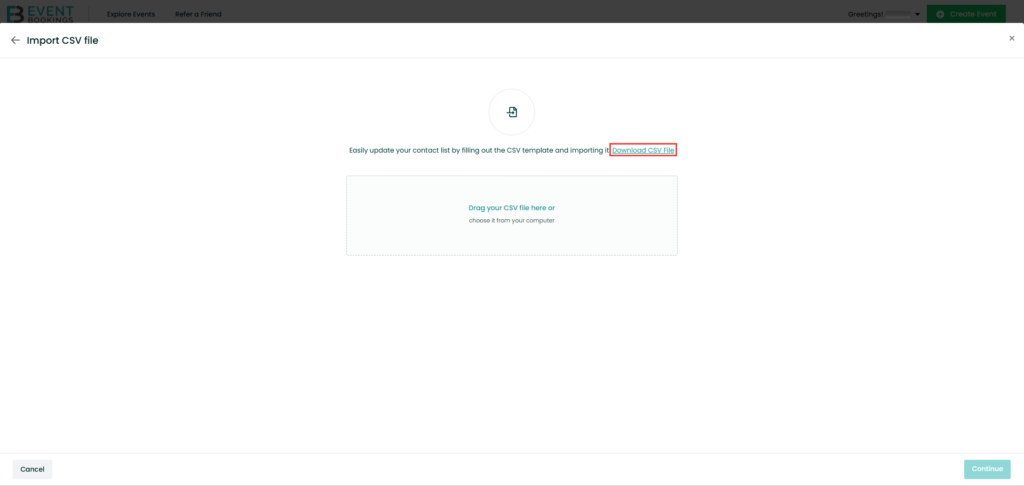
- Download the template and fill in the attendee details, including first name, last name and email.
- Upload the CSV or XLS file from your computer.
- Click continue to send the invitations to the email addresses you have provided.
Campaign
Bulk upload multiple attendee lists to send email
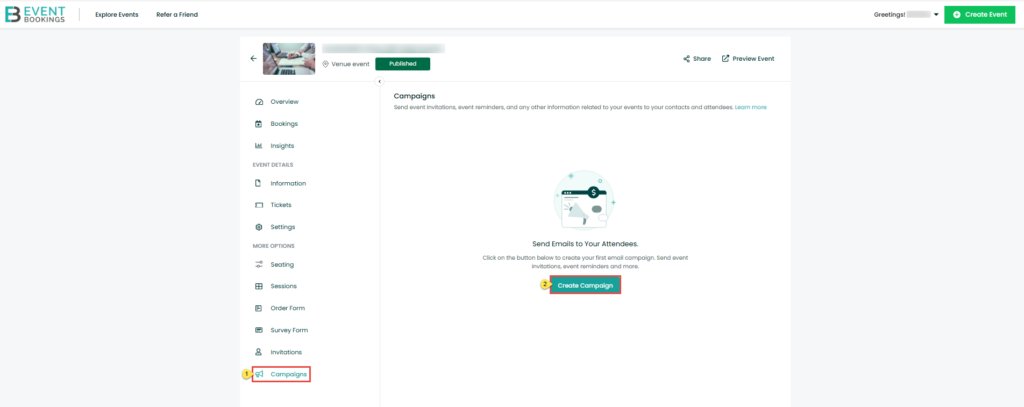
- Go to your event dashboard.
- Select campaigns.
- Click enable it for this event if your campaign is not enabled yet.
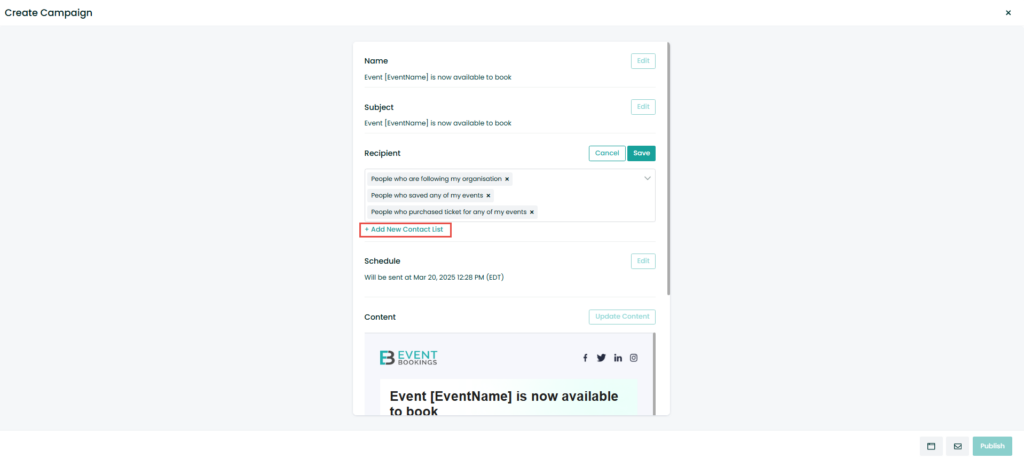
- Click Create Campaign.
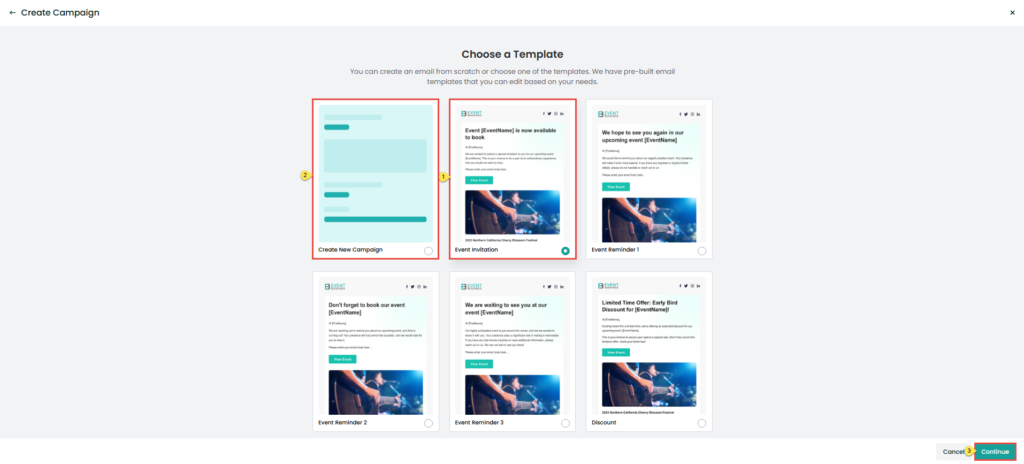
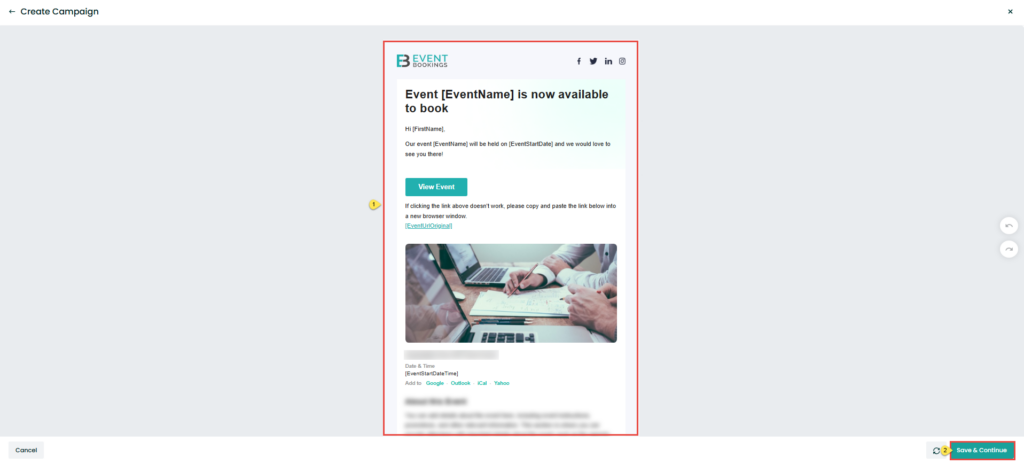
- Pick a template and select the attendees from the default attendee list who will receive your email.
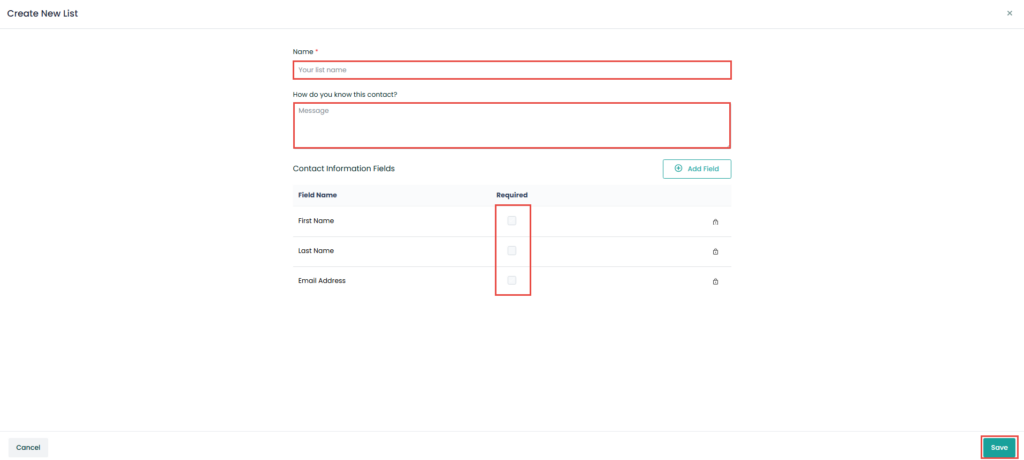
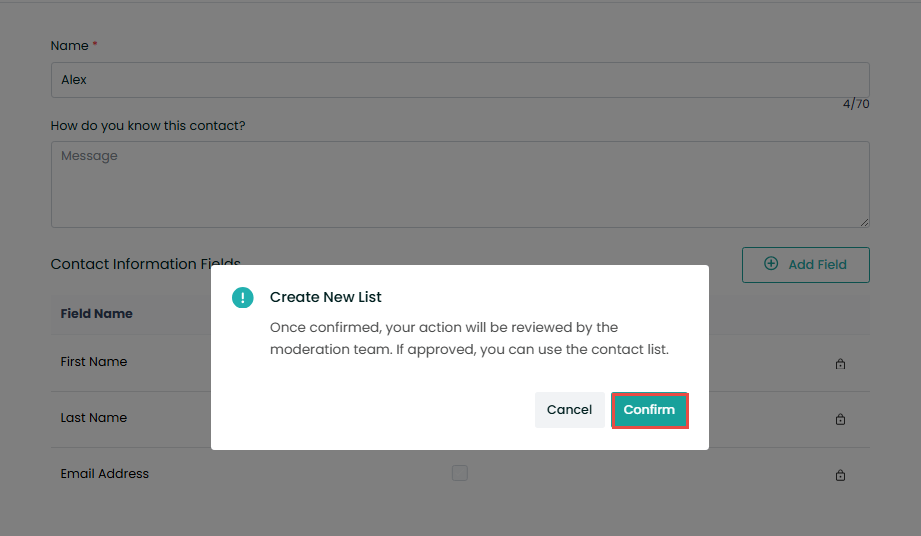
- Or, click ‘add new contact list’ to add the contacts manually.
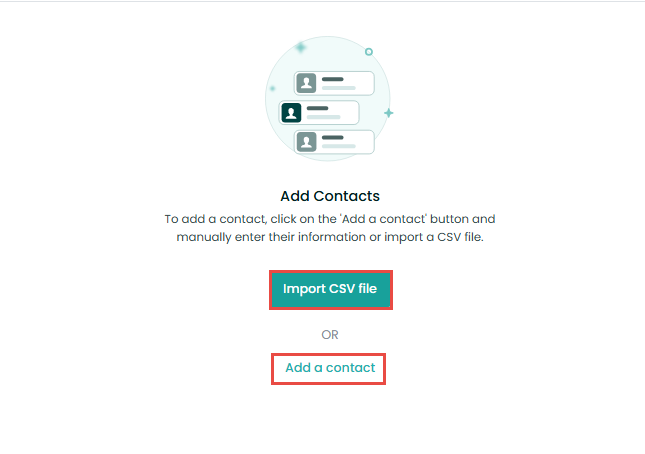
- Add the contact information individually, import the CSV file, and create a list.
Early bird discounts
Early bird discounts are promotional uses to encourage customers to purchase or book before a certain time. These discounts reward individuals who act quickly and first the cost of the services.
Setting up early bird discounts
Early-bird discounts enable your attendees to purchase your ticket at a discounted price for registering early for your event.
Enable the “Early Bird discount” options while creating your online event and choose the amount and the day until which you wish to provide the discount. Attendees who book their tickets will receive a special discount from you for this selected period!
You can set up an early bird discount during and after creating an event.
To set up an early bird discount while creating an event, read any of the articles: “Create an online event” or “Create a venue event”
To set up an early bird discount after creating an event:
- Go to the event’s Overview page
- Select Tickets from the left panel
- Click the three-dot button and select the Edit option, following which an update ticket pop-up form will appear
- Scroll down to the end of the form to view the “I want to offer early bird discount.” Option
- Enable the option and provide information for discount amount, end date, and end time
- When done, click Save, and your ticket will get updated with an early bird discount
Embedded Widget
Event Listing
The Event Listing widget provides a comprehensive list of all published events organised by you. It allows visitors to browse and find upcoming events easily.
- Access your Organisation Dashboard.
- Locate the Embedded Widget section.
- Select the specific events you want to include in the listing. There are no limitations on the number of events you can select.
- Customise the Theme colour and Button shape according to your website’s theme and design.
- Optionally, you can change the Button text to something other than the default “View Tickets.“
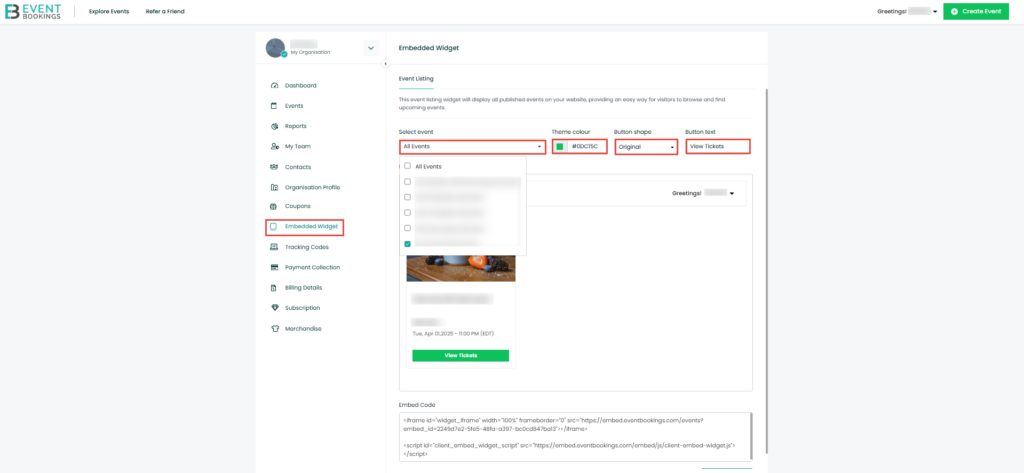

Copy the generated code and implement it on your website. Visitors can now view the listing of your published events and access ticket purchasing options.